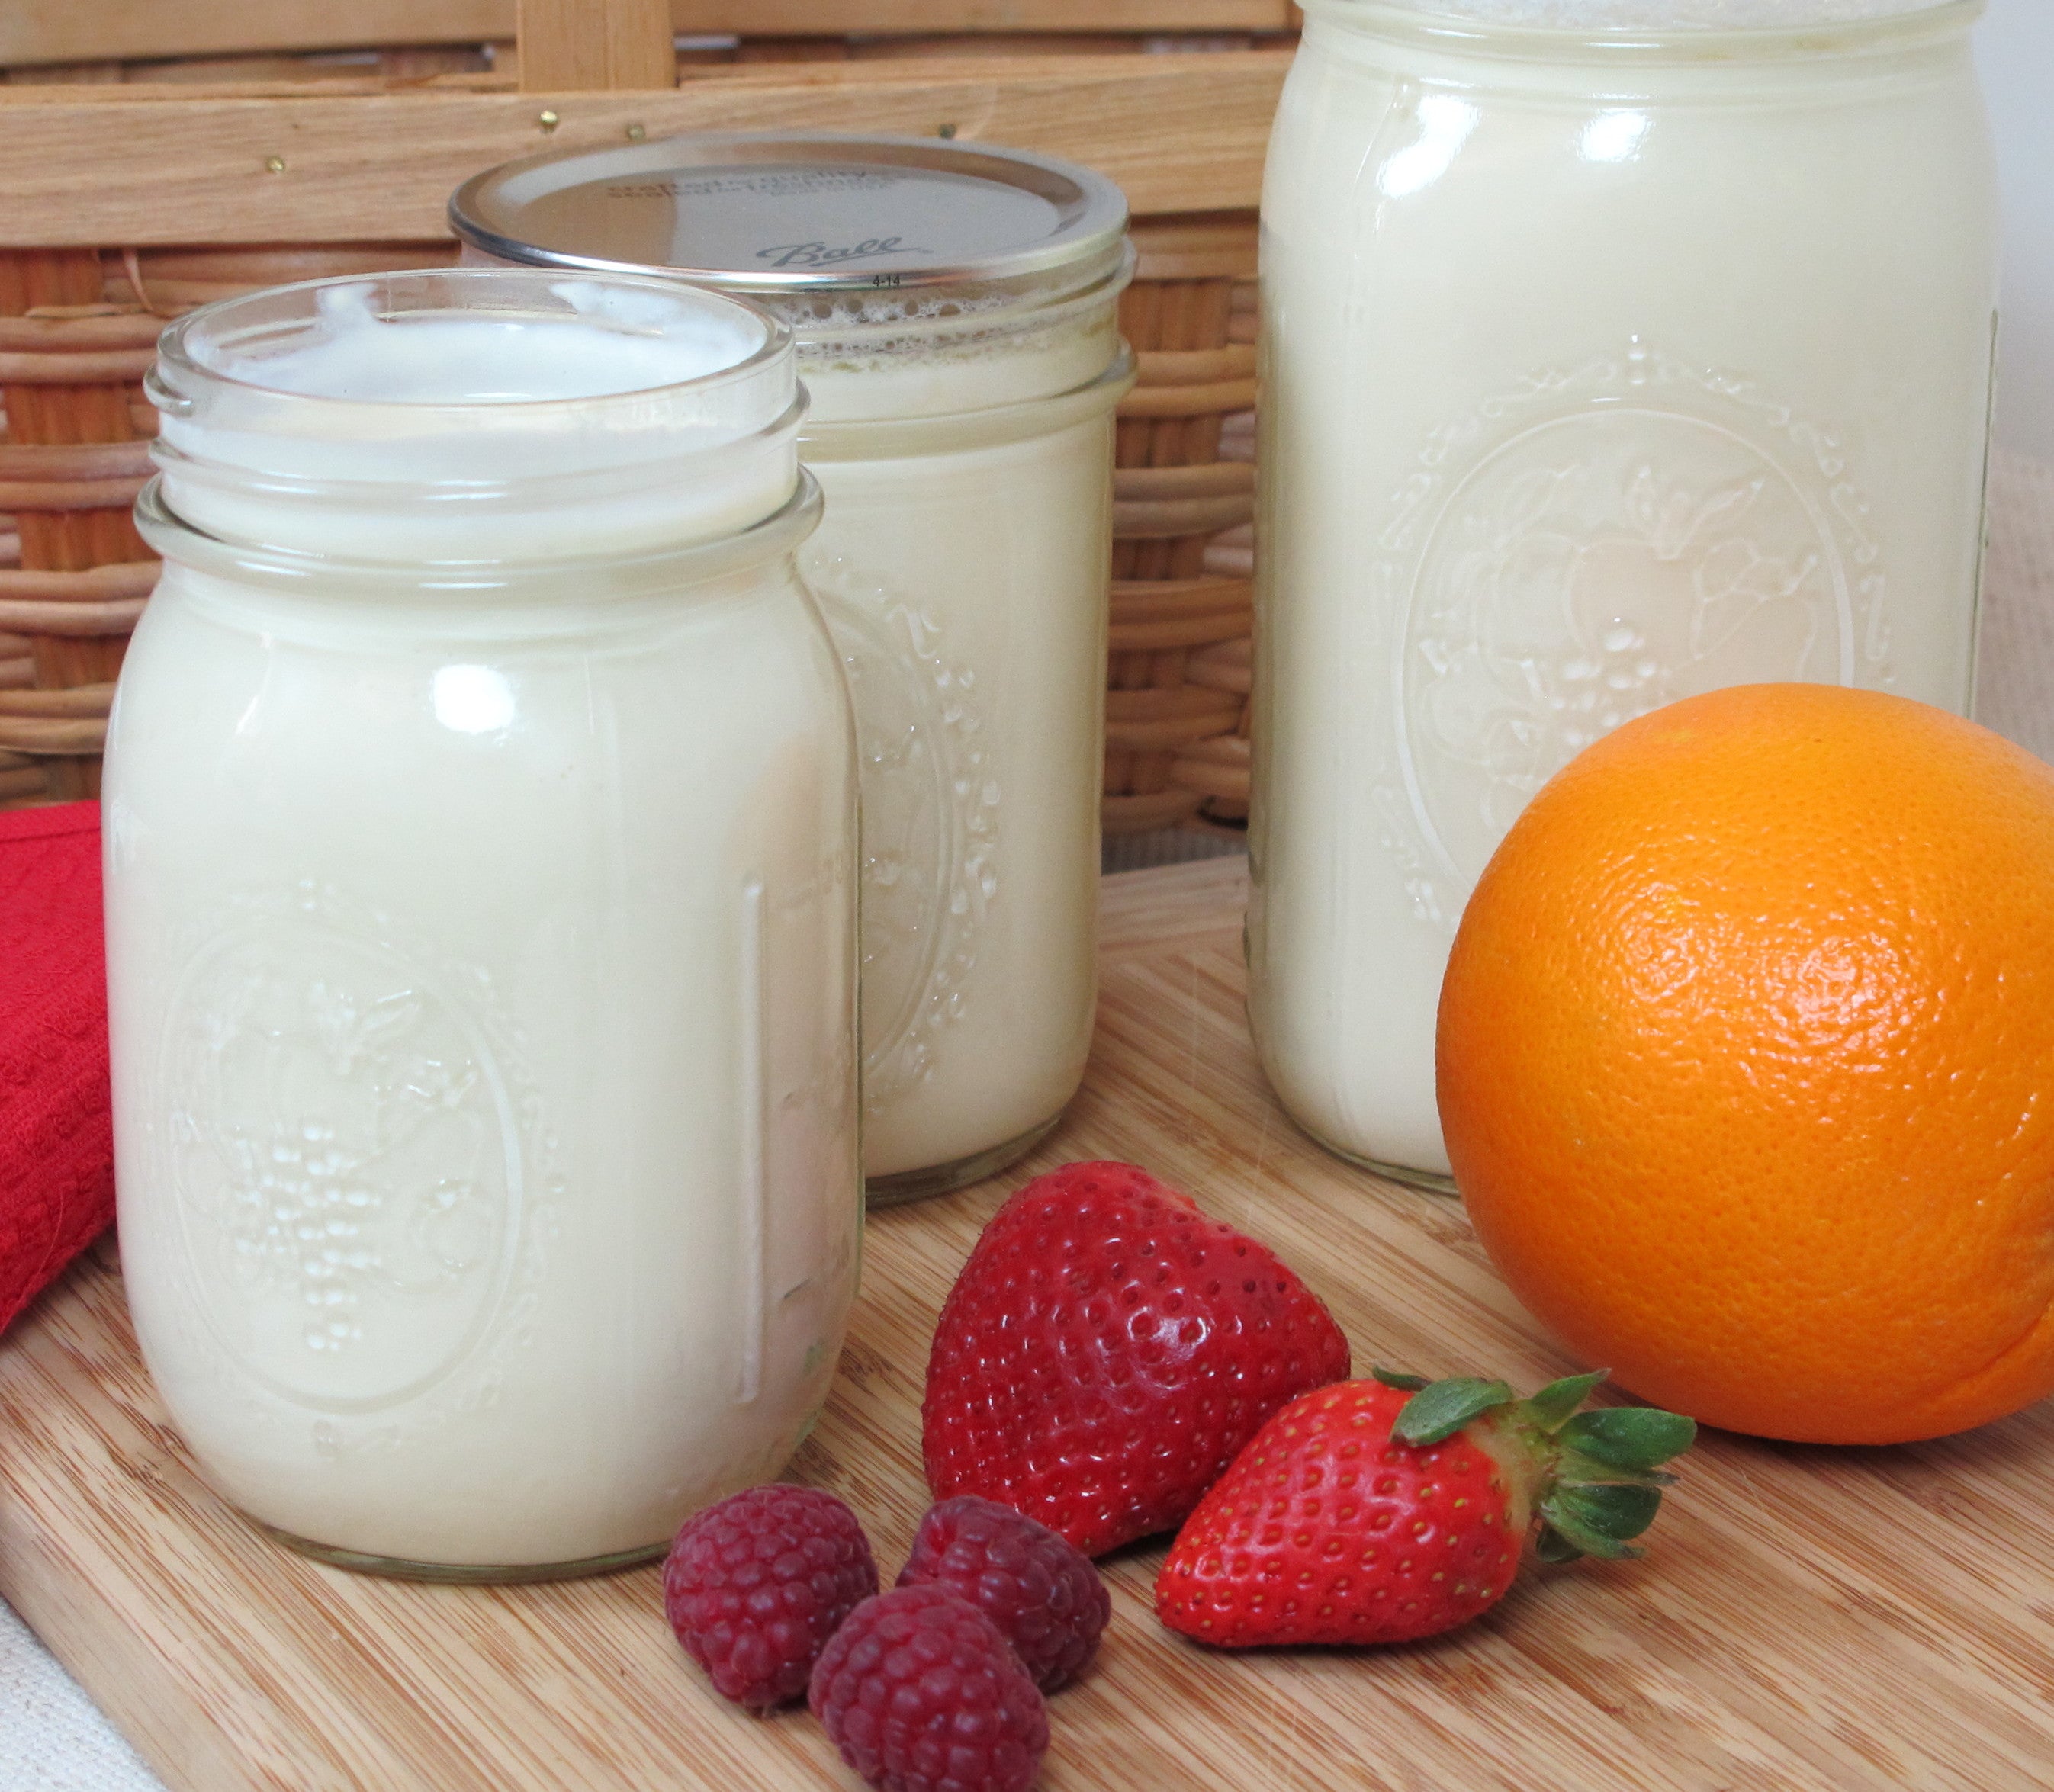
Soy Milk Yogurt Recipe

Our soy milk yogurt recipe makes a thick and creamy alternative to cow’s milk yogurt with the nutritional benefits of soy.
Culturing soy milk adds beneficial probiotics and also helps neutralize phytic acid, a naturally-occurring compound in soybeans that can bond with minerals, making them less bio-available. Our testers enjoyed this soy milk yogurt best slightly sweetened and with a drop or two of good lemon oil.
Printable Multi-language Recipes
| Plain, unsweetened soy milk | 1 C / 240 ml | 4 C / 1 L |
|---|---|---|
| Sugar, optional | 2 tsp | 2 T + 2 tsp |
| Lemon oil or extract, optional | to taste | to taste |
| Yogurt with live cultures* | 1½ tsp / 15 ml | 4 T / 60 ml |
*Live culture yogurt can be store-bought soy yogurt with live cultures or regular dairy yogurt with live cultures. Or a direct-set vegan starter may be used according to package directions. Learn more about how to maintain a yogurt culture.
Equipment: Brod and Taylor Folding Proofer & Slow Cooker (without water tray), thermometer, large spoon or whisk, and glass mason jars or other heatproof containers with a capacity of 1 quart / liter or less. Everything that will touch the milk should be thoroughly clean and dry.
Note: When using the Folding Proofer to make yogurt, be certain there is no water in the water tray. The water tray is not needed for making yogurt. You can remove it from the Proofer, if you like, or leave it empty. Do not add water because it will affect temperature settings.
Step One: Heat Milk to 195 °F / 90 °C and Hold for 10 Minutes. Using either a microwave or the stovetop, heat soy milk to 195 °F / 90 °C. If using the stovetop, stir frequently to prevent scorching. Hold the temperature of the soy milk above 195 °F / 90 °C for ten minutes. Depending on batch size, it may be necessary to use low heat (stovetop) or a short burst in the microwave to keep the soy milk hot. Tip: Whisking the milk to cover the surface with bubbles will prevent the milk from forming a skin during heating and cooling.
Step Two: Cool Soy Milk to 115 °F / 46 °C. Remove the soy milk from the heat and allow to cool to at least 115 °F / 46 °C. For faster cooling, place the container in a pan or sink of cold tap water. While the milk is cooling, set up the Proofer with the wire rack in place and the temperature at 120 °F / 49 °C.
Step Three: Add Yogurt and Flavorings. Put the yogurt with live cultures into a small bowl.Gradually stir in enough of the warm soy milk to liquefy the mixture and mix until smooth. Then pour the liquefied culture back into the large container of soy milk and stir gently to distribute. Stir in optional sugar and flavorings. Pour the soy milk mixture into jars, cover and place in the Proofer. Tip: For proper heat circulation and the most accurate culturing temperature, arrange the jars so that they are not directly over the center of the Proofer.


Soy milk yogurt makes healthy and delicious smoothies
Step Four: Culture at 120 °F / 49 °C for an Hour, then Lower the Heat to 86 °F / 30 °C. Set a kitchen timer for one hour, then after that hour turn the Proofer down to 86 °F / 30 °C. It’s important not to let the yogurt remain at 120 °F / 49 °C for more than an hour in order to avoid the whey separation and lumpy texture that come from culturing too hot.
Step Five: Check the Yogurt after Three Hours. After one hour at 120 °F / 49 °C and another two hours at 86 °F / 30 °C, check the yogurt by gently tilting a jar to the side to see if it has set. Most yogurts will take about 3-4 hours to set, or the yogurt can be cultured longer for a more tart flavor. When the yogurt is ready, put it into the refrigerator and allow it to chill thoroughly. Be sure to reserve enough yogurt to start your next batch.


